by Thomas Stirling | Jul 13, 2020 | astronomy, astrophotography, video, videography
Last night I had clear skies and the opportunity to photograph and film Saturn without having to stay up till the middle of the night. Below is just a short clip, but in it you can clearly distinguish the rings of Saturn as it slowly pans across my viewfinder.

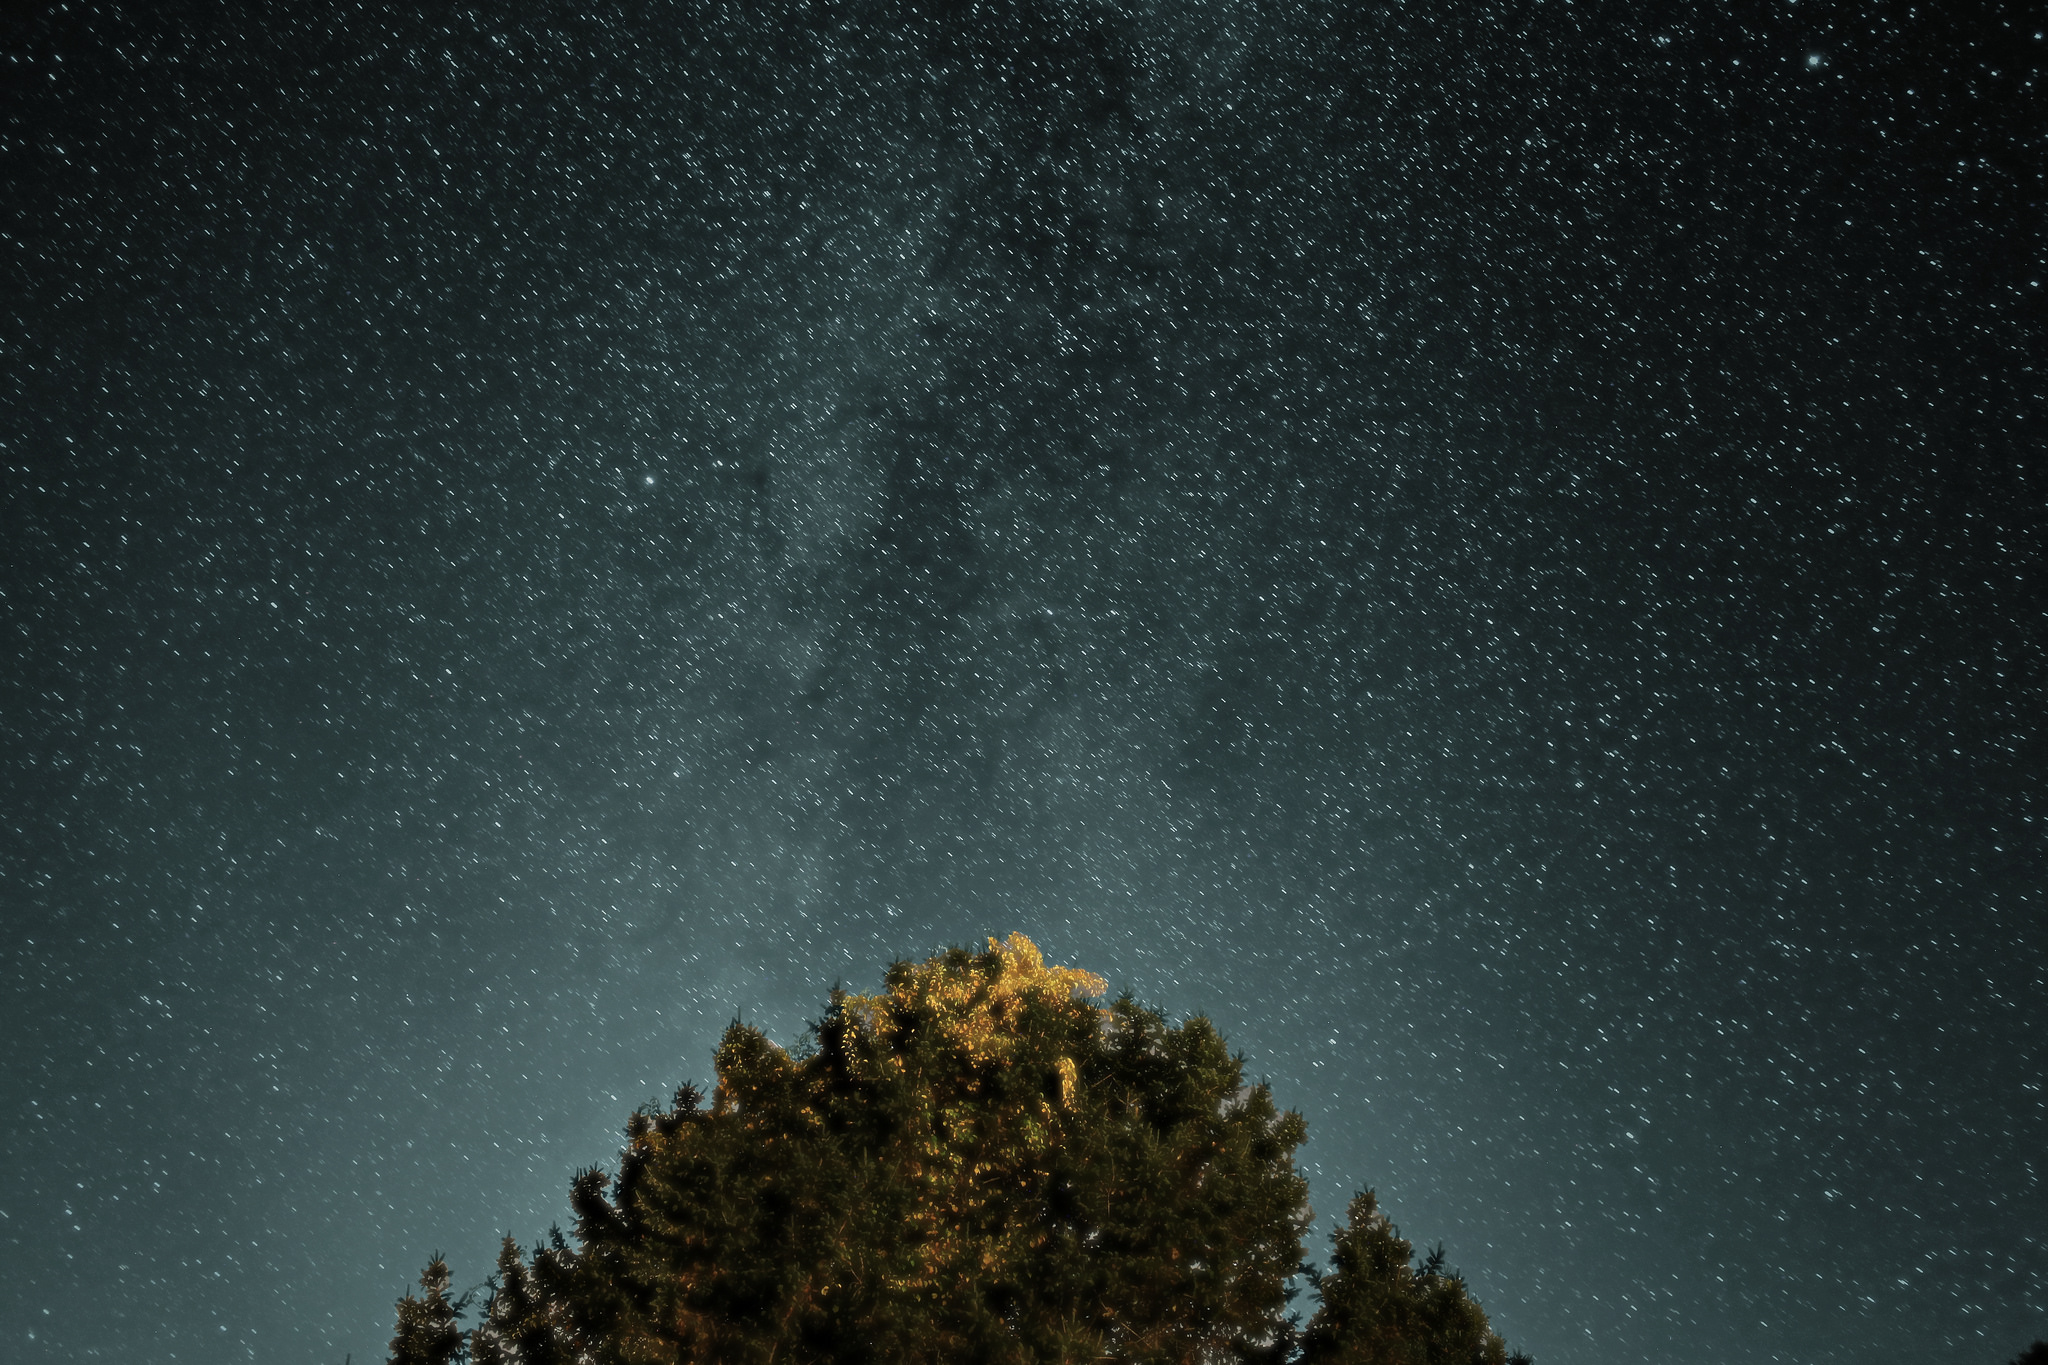
by Thomas Stirling | Jun 3, 2020 | astronomy, astrophotography, photography
I recently picked up a Nikon P1000. After having spent almost 15 years taking photos exclusivley with Canon Cameras I felt it was time to cross over and see what all the fuss was about with a good point and shoot Nikon. For the price this camera is awesome. Its a good...

by Thomas Stirling | May 24, 2020 | photography
A selection of recent shots taken with my new Nikon camera. I will be adding to Flickr a lot more in the coming months, you can check out my Flick Stream here and my 500px stream here. Bird Photography gallery © Tom Stirling 2020.

by Thomas Stirling | Aug 21, 2017 | astronomy, photography
For the first time in 99 years a coast to coast total solar eclipse cast its shadow over the continental United States. Everywhere from Oregon to South Carolina was in the 70 mile wide path of Totality. After a hectic morning I managed to get a camera and headed...

by Thomas Stirling | Aug 14, 2017 | astronomy, astrophotography, photography, timelapse, video, videography
*Note – Some prerequisite knowledge of Adobe Photoshop and basic digital photography will be required. I have been fascinated with the night sky since as long as I can remember, going outside and looking up at the stars makes you feel that your problems –...